


As a developer, choosing the desired font for your website is not always a big deal because some code editors like VS Code contain generic fonts like “san serif”, “Monospace”, etc. You could also choose the path of using online fonts from Google Fonts. However, designers sometimes give Frontend Developers the zip files of fonts, or you might stumble on a font online that is only available for download, or you might not find the font you need on your code editor. At that moment, what do you do?
Here are three easy steps for you to add a new font to your VS Code;
Step one
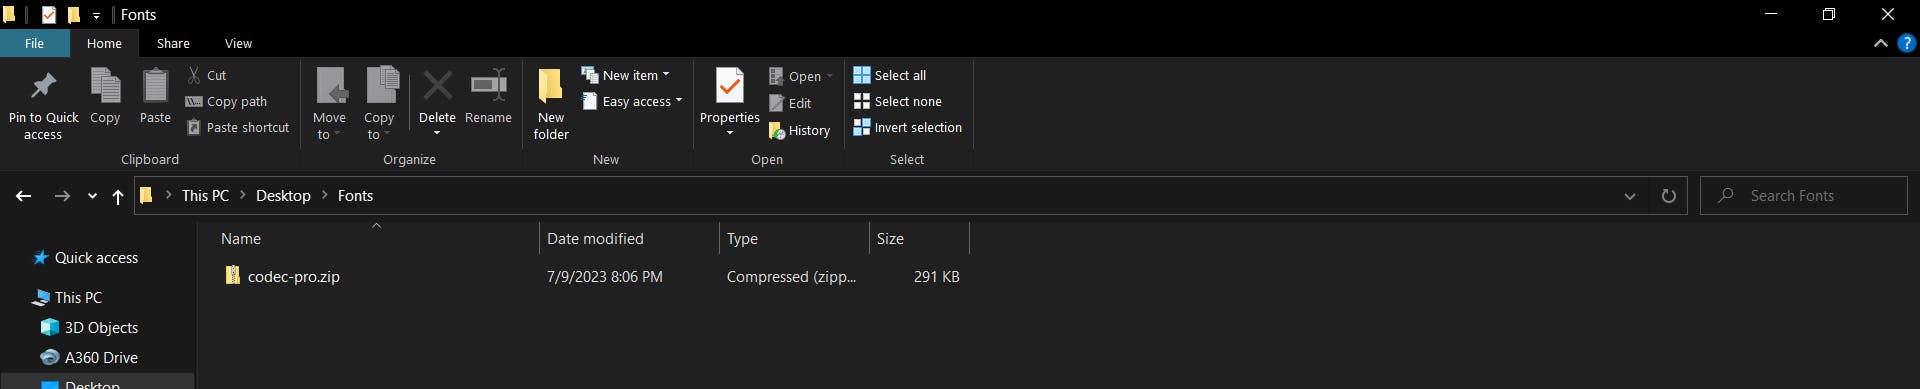
After downloading your font, it should be in the form of a zip file;
Step 2
Open up the zip file, then you should see a .ttf file or .oft. After opening the file, a screen like this should be displayed;
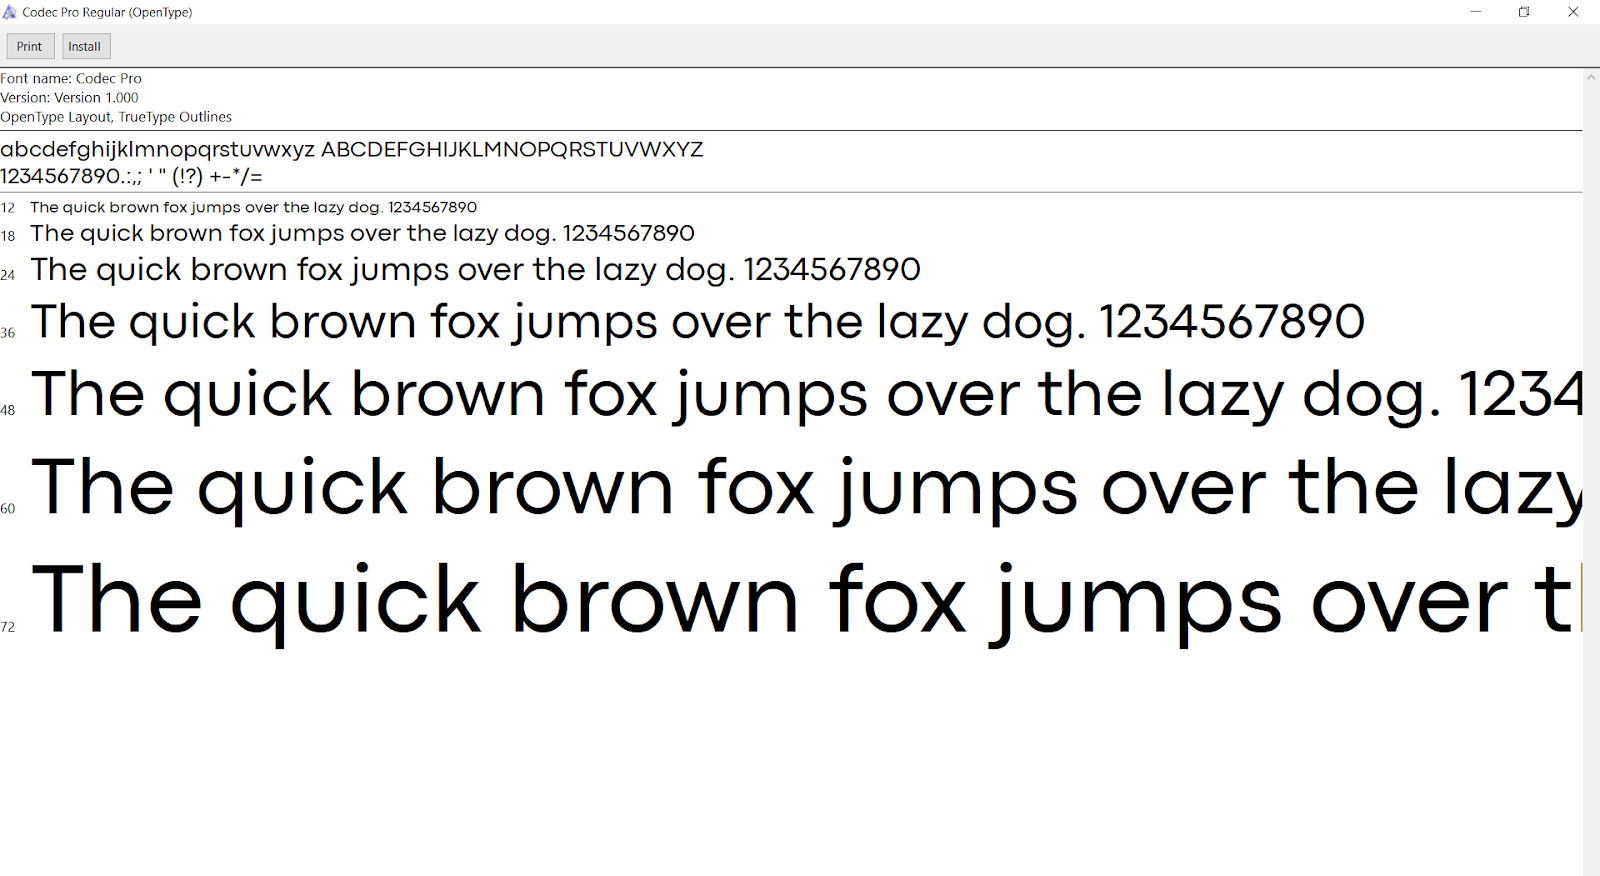
Click on the Install button at the top left side of the page. Then your new font should be installed.
Step 3
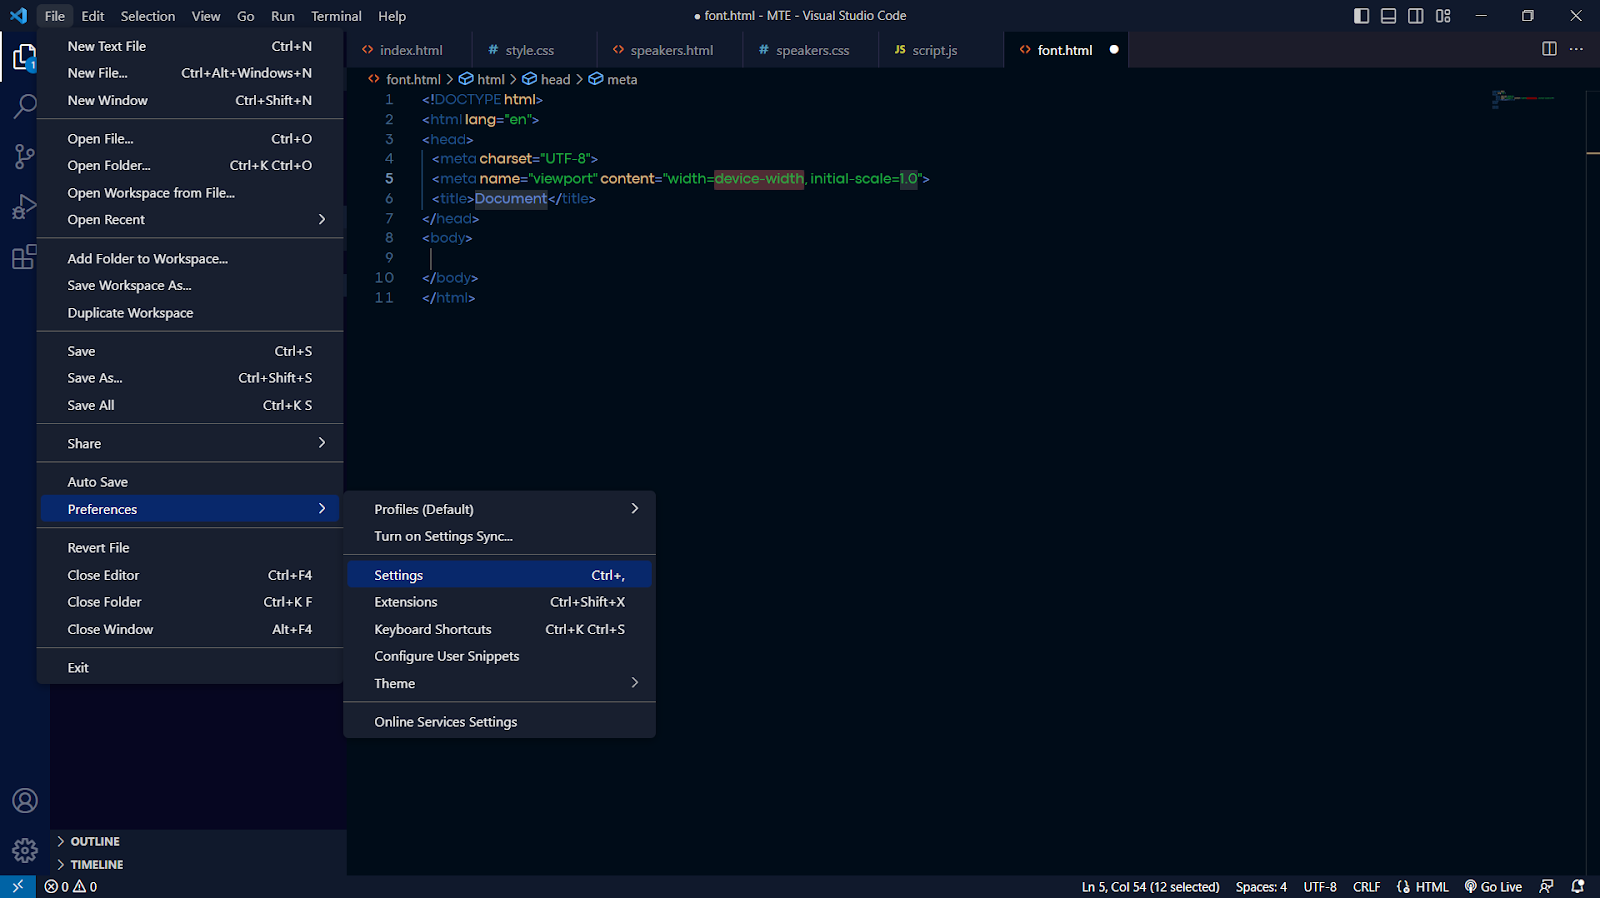
After the installation, open your VS Code, go to File > Preferences \> Settings.
Copy the font name from the .ttf file you opened earlier and paste the name in quotes e.g. “Codec Pro” in your Settings like this;
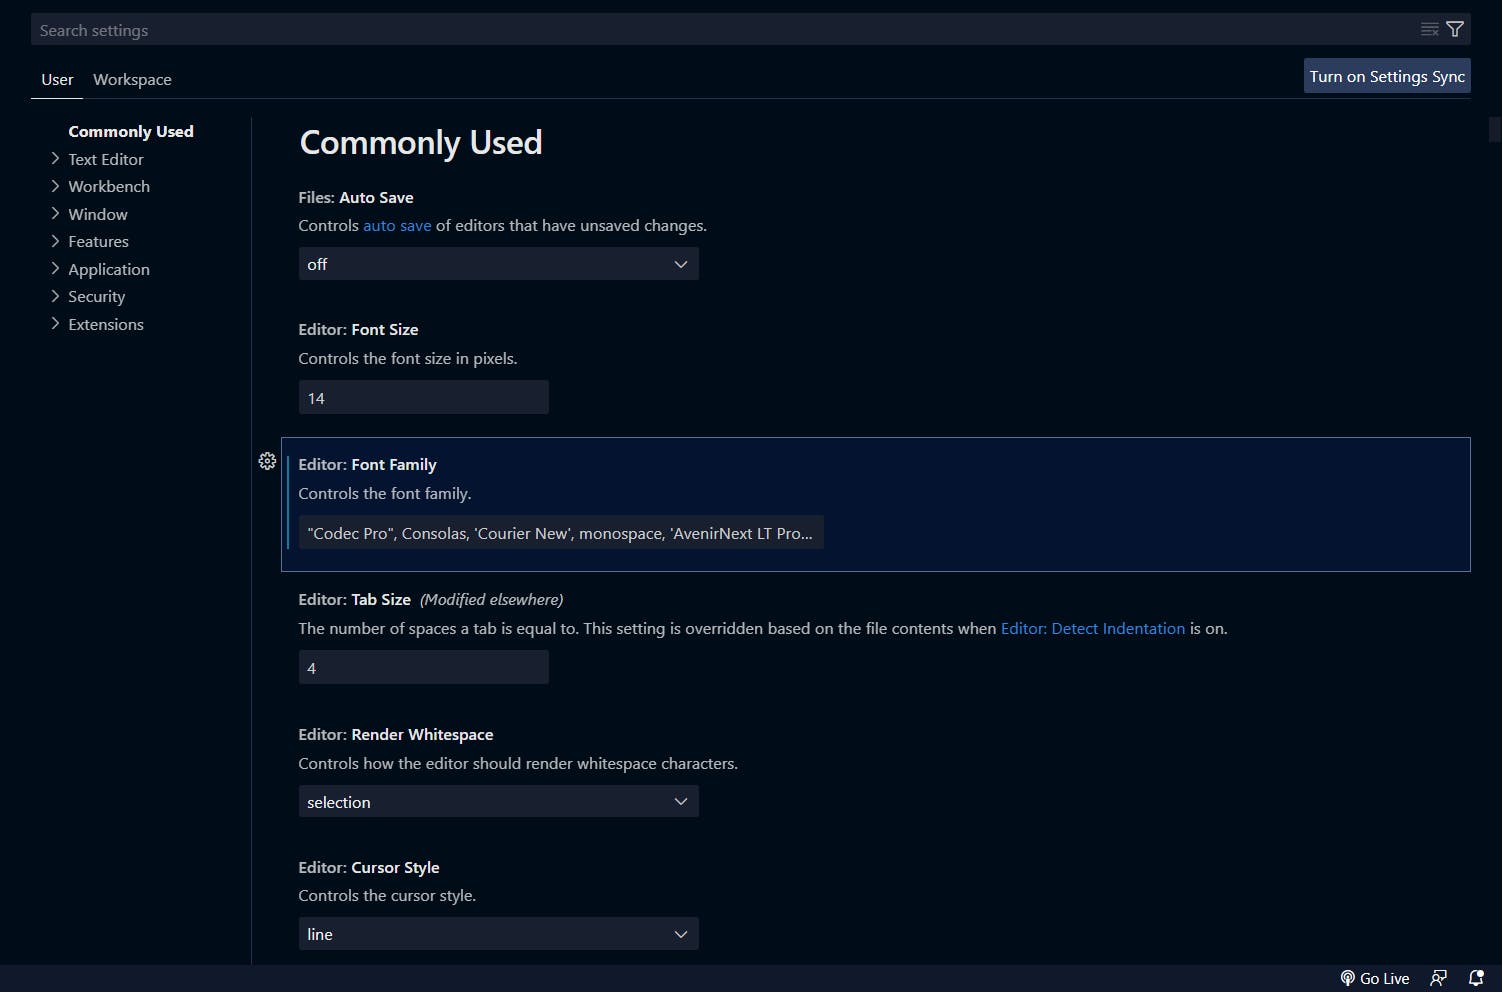
Now your font should be ready for use with just three easy steps! If your font does not work immediately, proceed to restart VS Code.